
In BIRT there are several ways we can connect to data. Some of these methods are out of the box such as MySQL while others require a little more work. This blog series aims to teach you how to bring in the power of scripted data sources and POJO’s while adding an easy to use interface for the report designer. By the end of this series you should know how to
-Design an ODA UI
-Create an ODA runtime driver
-Deploy and distribute your custom ODA
What is an ODA?
ODA stands for Open Data Access, it’s what allows you to connect to and retrieve data that will be used as the content of your design. If you’ve created a report with BIRT then you’ve used an ODA. ODA’s can either be used in the designer or used with the BIRT API’s.
Why build an ODA?
This is an interesting question by itself because all of the other options available to you. While it is true you can decide to build a scripted data source or a POJO to retrieve data for use in BIRT, every project is different. An ODA has many advantages, while I won’t go over all of them I will give you my two favorite reasons to build one.
1. Easy deployment.
Once you’ve created an ODA you only need to worry about distributing the jars to your designers and the server. It’s a one size fits all solution instead of having to keep code in your design.
2. A cleaner design file
If you have lots of data that needs to be retrieved and you decide to build a scripted data set, reading, debugging, and maintaining that script can start to get complicated depending on how complex it is.
How complicated is this?
If you’re like me, then you want to get up and running as soon as possible. The good news is that the designer already has two wizards available. One will generate the base code for your runtime driver while the other generates the base code for the UI. Since all of this is already generated for us then we only need to be concerned with the data retrieval and our ODA specific UI components.
Enough talk, let’s do this!
Today we won’t get too deep into the ODA. By the end of this blog post you’ll know how to
-Create an ODA Runtime project
-Create an ODA UI project
-Run your new ODA in Eclipse without any data – yet.
Create the runtime project
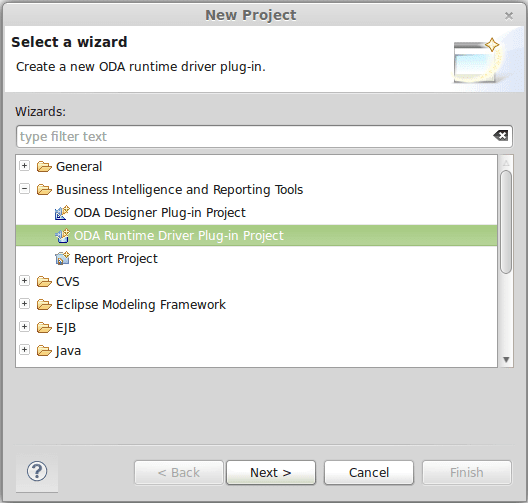
The first step in our journey of creating an ODA is to create the runtime project. We need to create the runtime project before the UI or the UI project will complain that it can’t find the runtime. To do this we need to open up eclipse and go to File > New > Project and find “ODA Runtime Driver Plug-in Project” inside of “Business Intelligence and Reporting Tools”.

Then we’ll need to name the runtime project. For this blog I’ll be using developer.actuate.oda.blog.runtime
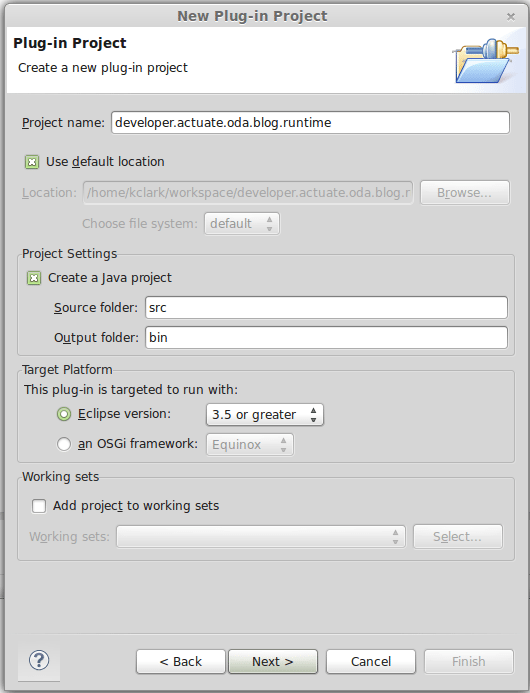
Click “Next” then we can tell the wizard what the name of our ODA will be. This name will appear in the ODA creation UI.

In the next screen make sure to select “ODA Data Source Runtime Driver” then finish.
Once this has all been completed you should see the runtime project in your workspace. We’ll now repeat the same steps for the UI.
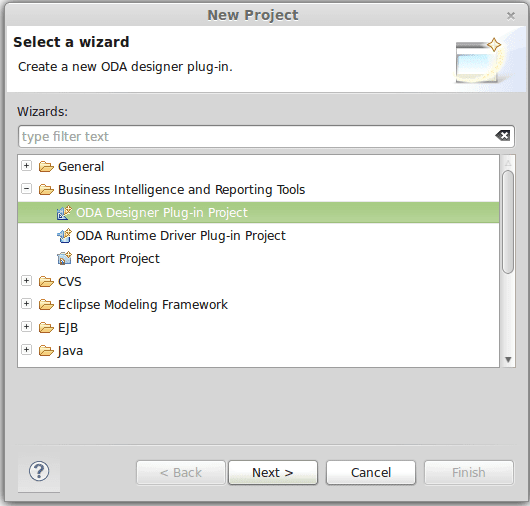
Go to File > New > Project and select “ODA Designer Plug-in Project”
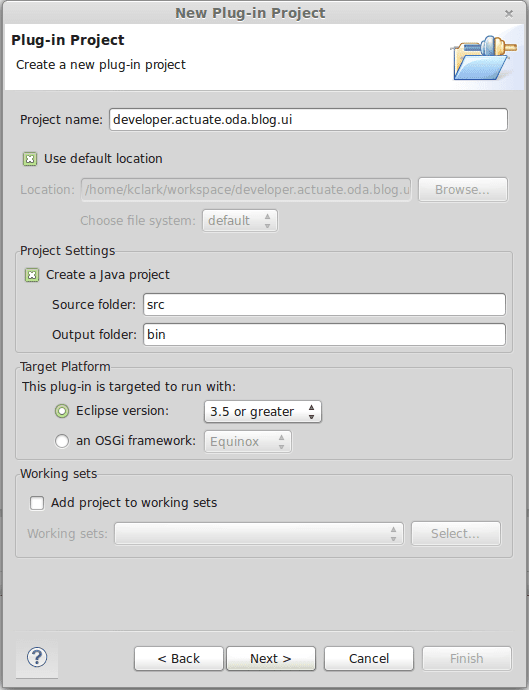
For this project name we’ll be using developer.actuate.oda.blog.ui
Again, we’ll need to name the project.
Just like before, we’ll need to make sure and choose the correct project type.
Then click finish. You should now have two projects in your workspace. One for the runtime and the other for the UI. We need to make two small changes to the UI project before we can run this. First, open up “MANIFEST.MF” located under META-INF in the UI project. Then click of the “MANIFEST.MF” tab. Replace line 11 with
developer.actuate.oda.blog.runtime
Then open CustomDataSetWizardPage.java and change line 243 to this
IDriver customDriver = new developer.actuate.oda.blog.runtime.impl.Driver();
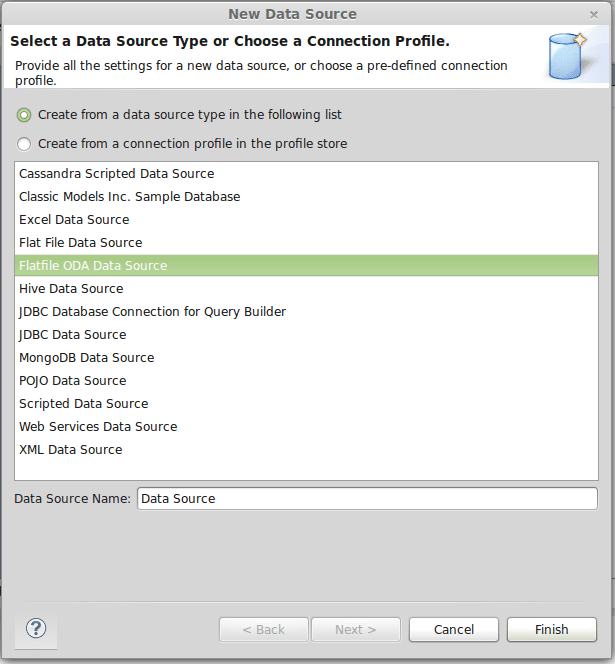
Now we can test our new ODA by pressining Ctrl+F11 from within that same java code and selecting “Eclipse Application.” Go ahead and create a BIRT project inside the new eclipse instance that just opened up and create a design. You can now see the beginnings of your ODA when you create a new data source.
And that’s it! At least for now. As you can see from today’s blog, this takes care of all that pesky setup and lets us jump right into having a barebones ODA that doesn’t do much until we start to make our changes, which will be covered in next week’s blog discussing the ODA UI creation.